
Last updated November 17, 2026
 Hardwood
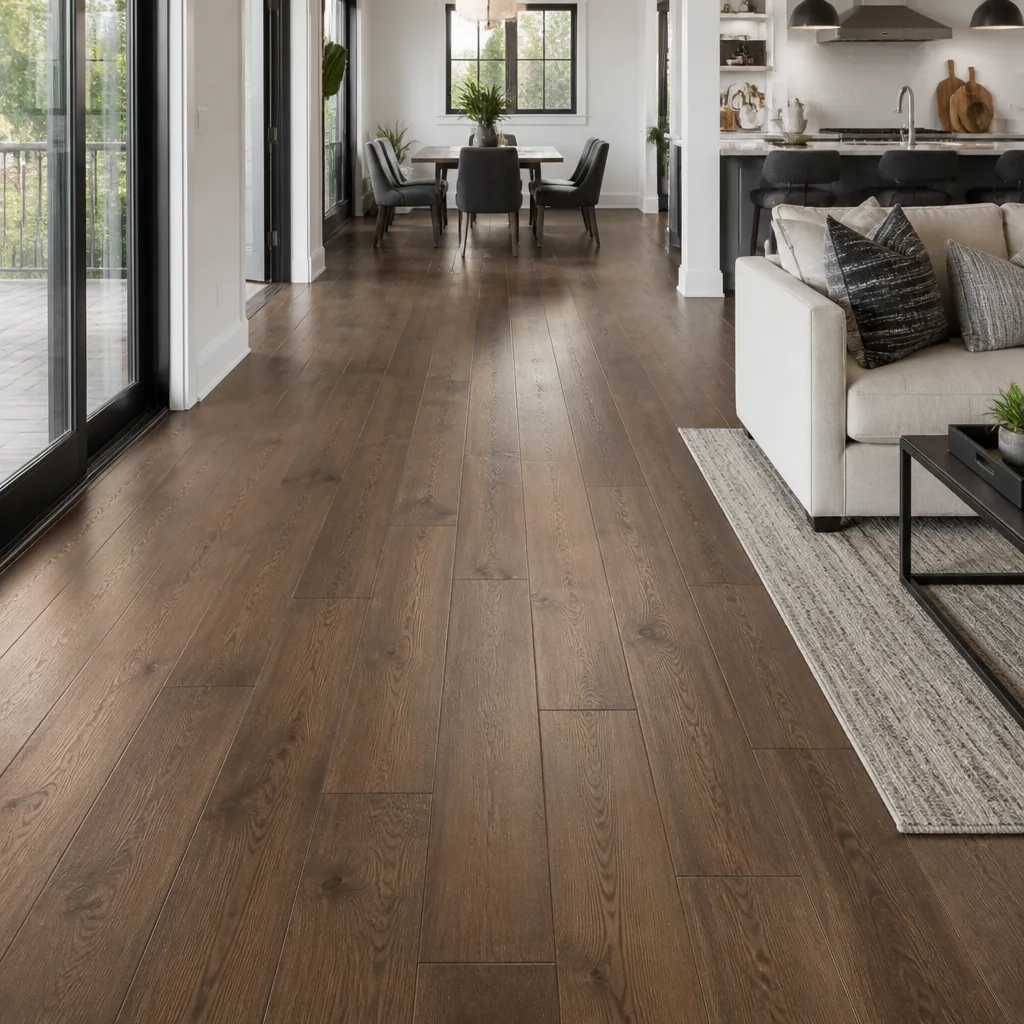 Engineered hardwood
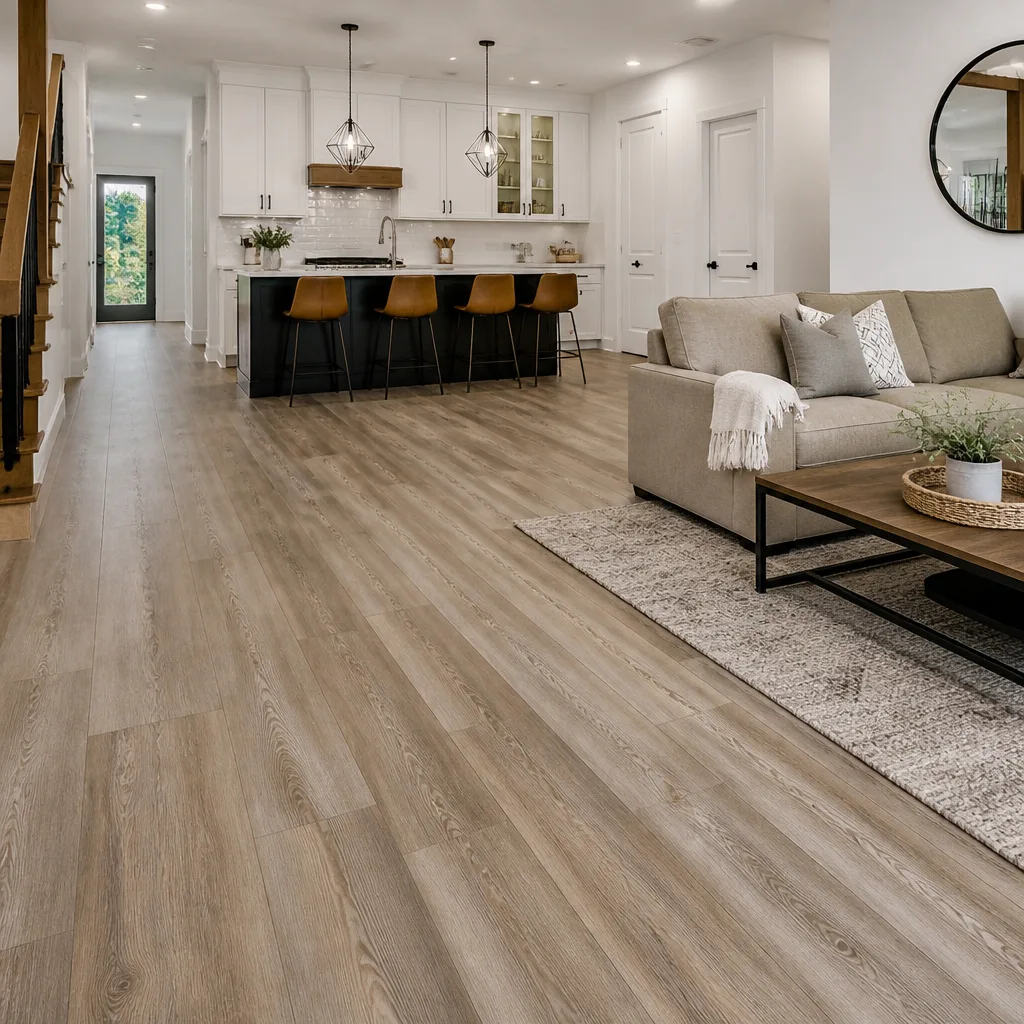 Luxury vinyl plank
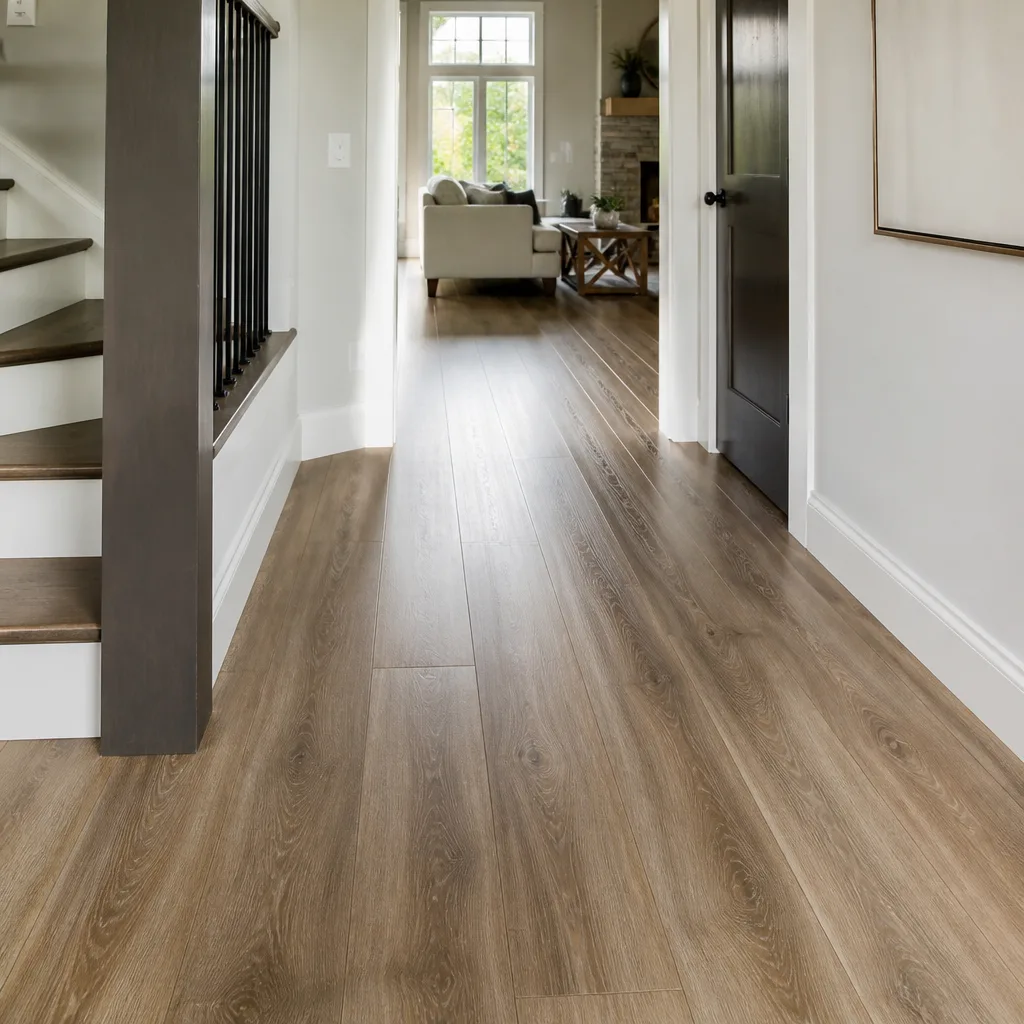 Laminate
 Porcelain tile
 Carpet
 Shaw
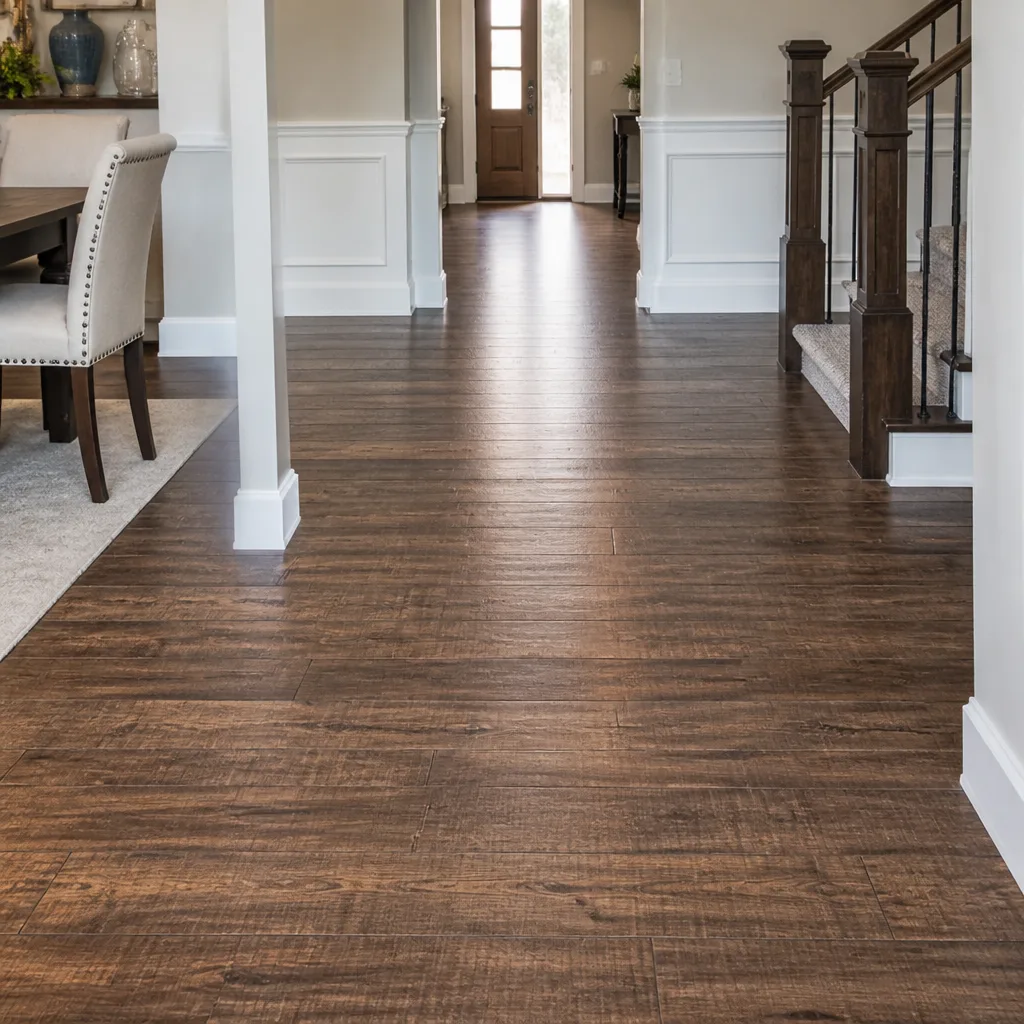 Mohawk
 COREtec
 Pergo
Free in-home measure and written estimate: Shaw, Mohawk, COREtec and Pergo lines compared on your own rooms, with carpet, tile, vinyl plank, laminate and hardwood laid out side by side
Get your free estimateHow to Prepare Your Home for a Flooring Installation in Sunrise Manor
Most flooring problems in Sunrise Manor don’t start with the product or the installer. They start the week before, when nobody explains what “ready for install day” actually looks like. A crew that walks into unmoved furniture, a house that hasn’t been at living temperature, and baseboards still painted to the wall has two choices: reschedule, or rush. And a rushed install in the Mojave’s dry air is exactly how acclimation gaps, curled edges and squeaks appear months later, long after the crew has packed up. This guide covers the prep work that actually protects your floor and your schedule.
Styles & brands we work with
- Hardwood
- Engineered hardwood
- Luxury vinyl plank
- Laminate
- Porcelain tile
- Carpet
- Shaw
- Mohawk
- COREtec
- Pergo
Quick Answer
To prepare your home for a flooring installation in Sunrise Manor, do four things before install day: confirm the room’s HVAC has been running at normal living temperature for two to three days with materials staged inside the house, clear every wall and closet floor completely, remove or plan for baseboards and door clearance, and arrange pets and children elsewhere for the install window plus 24 hours of off-gassing. Your written estimate should confirm which of these the installer handles and which are yours.
Table of Contents
- Why Preparation Matters More Than You Think in Sunrise Manor
- Acclimation: The 48 to 72 Hour Rule in Nevada’s Dry Air
- HVAC Pre-Conditioning: Temperature Before Install Day
- Furniture Moving: What Installers Cover and What They Don’t
- Clearing Baseboards and Door Clearances: Room-by-Room Checklist
- Pets, Children, and the 24-Hour Off-Gassing Window
- Your Printable Pre-Installation Checklist
- Common Mistakes to Avoid
- When to Call a Professional
- Frequently Asked Questions
- The Bottom Line
Why Preparation Matters More Than You Think in Sunrise Manor
The hard work of preparation happens before any material enters the house, and it almost never involves skill. It involves time. Sunrise Manor sits in the Mojave Desert, at low elevation, where indoor relative humidity in winter can drop well below what the flooring manufacturer describes in the product instructions. That gap matters more in Sunrise Manor than most places. Wood and engineered planks shrink in dry air, and the subfloor, acclimation and moisture conditions all depend on the product and the home, not a fixed number you can look up.
We’ve seen what happens when prep gets skipped. A homeowner clears half the room. A crew pulls back carpet and finds furniture legs, a treadmill or a packed closet floor blocking the route. Instead of one clean day, the install becomes two, or a return trip gets scheduled. In a market this tight on time, that’s real money spent on a job that should have been finished already.
The good news: preparation in Sunrise Manor is mostly about sequencing and heat management, and it’s fixed before the truck ever pulls up. Getting the sequence right protects your floor from the beginning and takes the pressure off the crew. Whether you’re replacing carpet, adding tile flooring installation in a bathroom, or laying new floors through a living area, the same prep steps apply with minor adjustments for the product.
What Preparation Actually Protects
When you get the prep right, three things follow that a rushed install would otherwise put at risk:
- Accurate material quantities. Nobody has to guess whether a closet floor needs more material because the room measurements were based on furniture that had to be moved.
- A clean subfloor check. Any prep that reveals cracks, high spots or moisture issues happens before install day, not after a crew arrives.
- A floor that performs in Sunrise Manor’s climate. Acclimated material, set on a stable subfloor, in a room held at steady temperature, is your best protection against seasonal gaps and edge lift.
At Sunrise Manor Flooring, we work with independent local professionals who do the installation, and we know the prep conversation is where most of the value is created. Nine brands, one specialist: you choose the floor, and we make sure the room is right before it goes down. Our technicians have up to 8 years of experience working in homes across the valley.
Acclimation: The 48 to 72 Hour Rule in Nevada’s Dry Air
Acclimation means letting your flooring sit in the room where it will be installed for enough time to adjust to the home’s indoor conditions. In Sunrise Manor, the right window for most wood and engineered products is 48 to 72 hours, with the material staged inside the house and the room held at normal living temperature. That window is not a firm rule across every product, though: the product instructions and your written estimate set the exact guidance.
The why is straightforward: wood and engineered components expand and contract with humidity and temperature. Bring material from a delivery truck into a cool room or a hot garage and it hasn’t caught up yet. Install it before it does, and a few months later you may see edge gaps and seams that look like installation errors but are really coming from the material’s movement after installation. Sunrise Manor’s dry air works on it in the opposite direction from what people in humid climates expect.
Where to Stage Materials
Where the material sits matters as much as how long it sits there. Here’s how to stage it:
- Stage inside, in the actual install room or an adjacent open space. Not the garage, not the patio, not the truck.
- Lay boxes or bundles flat and loosely. Keep them off the floor with a small gap between them so air can circulate around the material.
- Keep the room at normal living temperature, open to the rest of the house. Closing off the door slows acclimation and creates a small climate of its own.
- Don’t open the packaging any more than the instructions say. Some engineered products need to stay sealed; others need airflow. The product packaging and the installer’s direction should be the guide, not a general habit.
- Leave the material in place through the full window. Moving it to a hot car or a hot garage for a few hours defeats the work already done.
For a home in Sunrise Manor with tile or LVT, acclimation matters less than for wood but still factors into the schedule. Tile from Daltile and water-resistant LVT like LifeProof don’t require the same temperature-driven acclimation window that wood does, but they do need the room to be at normal temperature before install so adhesive and subfloor prep behave correctly.
HVAC Pre-Conditioning: Temperature Before Install Day
Turning the HVAC on the morning of install doesn’t do the job. The house needs to be at normal living temperature for at least 48 to 72 hours before install day, including through the nights, so that the material, the subfloor and the room temperature have all settled together. In Sunrise Manor, where daytime temperatures climb in the summer and indoor humidity is low year-round, that pre-conditioning window matters.
Here’s the practical sequence for a Sunrise Manor home:
- Confirm the HVAC is running normally in the rooms slated for flooring. If a room has a broken unit or a window you’ve been meaning to seal, address it before the install, not after.
- Set the thermostat to normal living temperature and leave it there. Don’t cycle it wildly or drop it unusually low to “test” things.
- Run the system for the full 48 to 72 hours before install. Don’t switch it off the night before because you’re leaving.
- Keep the temperature steady through install day itself. If it gets shut off during the install because the door is open, the room can drift and material can move.
- Keep doors closed to outdoor air as much as possible, especially on hot or windy days, so the house stays in its normal range.
Windows, Doors, and the Desert Swap
Sunrise Manor homes often open windows on cool mornings in spring and fall, and that’s a normal habit. During the pre-install window, though, keep windows mostly closed on hot or windy days. The “swap” is tempting when the house gets warm, but open windows introduce outside air that can undo the temperature stability you just created. If you need fresh air, keep it brief and contained to rooms not part of the install.
What the Estimate Visit Should Confirm
When a trained professional from Sunrise Manor Flooring visits for a free estimate, they should talk through your HVAC setup with you: how many zones, whether the room is on a separate thermostat, and whether there’s a room that runs hotter or colder than the rest. Those details shape the acclimation plan for your specific home. Write them down, and keep them where you’ll see them on install day.
Furniture Moving: What Installers Cover and What They Don’t
Most installers will move light furniture out of the work area, but they typically do not move heavy or built-in items like pianos, safes, large appliances or wall-to-wall bookcases. That means the bulk of the moving job is yours. Getting this wrong is the single most common cause of a rescheduled install: if a room isn’t cleared of furniture, the crew can’t run the length they need.
Here’s the practical split, spelled out. Confirm the exact arrangement with your installer before install day, because what’s included varies by crew and by the written estimate.
What Installers Typically Cover
- Moving standard furniture (chairs, small tables, ottomans, boxes) out of the path of work.
- Temporarily lifting light window coverings or pull-down shades that block the floor edge.
- Pulling existing carpet, base trim where coordinated, and setting it aside.
- Moving some appliances onto the new floor while working around them, in some cases.
What Installers Typically Do Not Cover
- Pianos, safes, gun safes, large entertainment units, pool tables or exercise equipment.
- Built-in or wall-anchored furniture, such as a bolted-down bookcase or a heavy desk.
- Disconnecting and reconnecting plumbing for refrigerators with water lines or laundry equipment.
- Lifting heavy mirrors or large framed art that would need to come down.
- Temporary storage for furniture in another room.
Planning Furniture Moves That Work
- Empty every closet floor in the affected rooms. Shoes, boxes, laundry baskets. All of it. Closets are the single most-missed area.
- Clear the floor of every room being worked on before the crew arrives.
- Identify heavy items and make a plan for each one. A piano, for example, generally needs a specialist mover, and that should be booked before the install date, not after.
- Coordinate with a friend, neighbor or moving company if you need help with heavy items. This is often the cheapest and quickest route.
- Move furniture to the room least affected by the install if you can. Big jobs are easier when there’s one clear staging area.
Clearing Baseboards and Door Clearances: A Room-by-Room Checklist
Baseboards and door clearances are where most last-minute surprises happen. If the new floor is thicker than the old one, the doors may not clear. If baseboards are painted to the wall, pulling them back for the new floor risks damage. Walking a room-by-room checklist before install day catches all of this.
Go through the following for every room scheduled for flooring:
Every Room
- Remove every piece of furniture from the floor, including closet floors.
- Remove all rugs, mats and floor coverings.
- Clear the path from the entry door to the room. The crew needs room to bring material in.
- Check that the entry, hallway and any stairwell along the route are clear.
- Remove wall art or mirrors that could be bumped while the crew carries material past.
- Remove floor lamps, plants, pet bowls and other floor-level items.
Baseboards
- Note any baseboards painted to the wall. The installer needs to know whether they can lift the baseboards or not before install day.
- Note any caulked or sealed baseboards. Some can be cut clean with a knife; others require repair afterward.
- Note full baseboards (in kitchens and bathrooms) that need to be removed and reinstalled so they cover the new floor edge.
Doors and Door Clearances
- Check whether doors clear the new floor thickness. Depends on installation and product, but a thicker floor can bind against a door. Set up a plan before install day if a door is already tight.
- Note doors that need to be removed for the install and reinstalled after.
- Check the door swing path. Carpet, tile and wood all sit at different heights, and doors that work with one may not work with another.
- Check that closets have room to open and close during install.
Kitchen and Bath
- Empty cabinets below sinks and counters if the install will touch that area.
- Plan for refrigerator and dishwasher moves separately from the main install.
- Note appliances that are hard-wired or plumbed and need a qualified professional, not the flooring installer.
Pets, Children, and the 24-Hour Off-Gassing Window
Plan to have pets and children out of the work area during the install and for a 24-hour window afterward while adhesives and finishes off-gas. That window is what gives the install the cleanest chance to settle and gives the household a calmer return. Sunrise Manor homes with pets and children usually have more complex schedules, so plan this early.
Pets
- Keep pets out of the room being worked on for the full install day and the 24 hours afterward.
- Arrange a backup plan for dogs and cats that are used to roaming. A closed door and a water bowl on the other side is not enough; a family member or boarding arrangement is better for the full window.
- Have a plan for litter boxes, food and water stations that sit in the affected room.
- Call local pet sitters or boarding a couple of weeks ahead so the timing lines up with the install.
Children
- Keep young children and toddlers out of the work room. A floor in progress means tools, adhesive, cut edges and trim.
- Plan for naps and meals to happen in a room not being worked on during install day.
- Talk through the day with older kids so they know which rooms are off-limits.
The 24-Hour Off-Gassing Window
Adhesives and some finishes release low levels of VOCs as they cure. A 24-hour window is a reasonable guideline, and the product instructions and your estimate set the exact guidance. During that window, ventilate as the installer directs, keep windows closed to outside dust and heat where possible, and keep pets and children out of the room. When the installer opens the room back up, you can move furniture back in gradually.
Your Printable Pre-Installation Checklist
Here’s the whole thing in one place, ready to print or screenshot. This is the same prep we walk through with Sunrise Manor homeowners at estimate time.
Two to Three Days Before Install
- Turn the HVAC on in the affected rooms and set it to normal living temperature.
- Stage the flooring material in the room it will be installed in, flat and loosely stacked, per the product instructions.
- Confirm the material has arrived and matches the written estimate. Check the product name, quantity and edge color.
- Clear personal items from the entry, hall and room.
- Confirm whether the installer is moving light furniture or none at all.
- Book heavy-item movers (piano, safe, exercise equipment) if you need help.
- Arrange pets and children through the install plus 24 hours.
Day Before Install
- Clear every closet floor in the affected rooms.
- Remove all furniture from the work area.
- Remove wall art and mirrors along the path.
- Remove rugs, mats and floor coverings.
- Verify HVAC is still running and temperature is steady.
- Confirm door clearance plan with the installer.
- Confirm baseboard plan with the installer.
Install Day
- Set pets and children in a room away from the install.
- Clear the path from the entry door to the room.
- Keep the HVAC on and stable.
- Hand off your plan for doors and baseboards to the crew.
- Note the install start time and expected finish.
24 Hours After Install
- Keep pets and children out of the room for the full window.
- Ventilate as the installer directs.
- Walk the floor and check the seams, edges and trim before moving furniture back in.
- Move furniture in gradually, as the installer advises.
Common Mistakes to Avoid
We’ve walked into enough homes across Sunrise Manor to know what goes wrong again and again. Here are the mistakes that show up most often.
- Leaving the house at outdoor temperature during install. Sunrise Manor’s dry air and summer heat make this worse than it is most places. Install material before the house has been at living temperature, and the seams and edges may not hold up.
- Staging flooring in the garage. The garage isn’t the house. Acclimation happens in the room, at room temperature.
- Assuming the installer will move a piano or a safe. They usually won’t, and no crew is set up to do it safely on install day. Book a specialist mover instead.
- Leaving closet floors packed. Closet floors are the single most-missed area. Empty them completely.
- Pulling baseboards without checking the paint line. Baseboards painted to the wall can tear drywall when they come off, and that repair adds time. Talk through the baseboard plan at estimate time.
- Ignoring door clearance. A new floor that’s thicker than the old one can bind a door. If a door is tight already, the install plan should account for it.
- Skipping the off-gassing window. Moving pets and kids back into the room immediately after install skips the 24-hour cure window and puts the floor at risk.
When to Call a Professional
Some prep is DIY. Most of the flooring work itself is not – and there are specific situations where calling a professional at the estimate stage saves time, money and frustration.
Call a professional if you have hardwood that might be refinished rather than replaced. It might be restorable, depending on the thickness of the wood and its condition, and that decision should happen at the estimate visit, not after the flooring arrives. Call if you have a subfloor you’re not sure about, or if a room has a currently unknown moisture issue. Call if a whole-home flooring project spans more than one material; single-source coordination across carpet, tile and hardwood refinishing is what we do. And call if you’re weighing replacement versus refinishing and want a written price on both. Sunrise Manor Flooring offers free estimates in Sunrise Manor – call (833) 695-5999.
Frequently Asked Questions
Your house should be at normal living temperature for 48 to 72 hours before install day. This includes overnight, and it should stay steady through install day itself. In Sunrise Manor’s dry air, a swing between outdoor heat and a cooled room can affect material movement, so keeping the HVAC running through the whole window is the goal.
You need to clear the floor in every room being worked on before the crew arrives. Installers typically move light furniture, but not pianos, safes, large appliances, exercise equipment or built-in furniture. If you have heavy items, arrange a specialist mover in advance. Confirm the exact arrangement with your installer at estimate time.
Most wood and engineered products need 48 to 72 hours of acclimation in the room where they’ll be installed. Tile and water-resistant LVT like LifeProof usually need less acclimation time, but the room still needs to be at normal temperature before install. The product instructions and your written estimate set the exact guidance for your floor.
Yes, but they should stay out of the work area during install and for 24 hours afterward while adhesives and finishes cure. Plan a backup arrangement for pets and young children, and keep the door to the work room closed through the full window. Ventilate as the installer directs before reopening the room.
You don’t need to be in the room during install, but you should be available to answer questions about doors, baseboards and key decisions. The installer will need a clear path to the work area and access to the HVAC controls. If you can’t be home, leave a written plan and a point of contact.
The crew will reschedule and move to the next opening on the schedule, and the new floor is delayed along with it. The best prevention is the checklist above: clear the floor, stage the material, get the HVAC running, and confirm the plan with your installer ahead of install day.
Sometimes yes, and sometimes no. It depends on the thickness of the wood and its condition, which is checked at the estimate visit. Sunrise Manor Flooring offers Sunrise Manor Flooring services including hardwood floor refinishing as a cost-preserving alternative to full replacement. It’s worth asking about before you assume you need new floors.
A good estimate visit covers measurements, subfloor condition, door and baseboard clearances, and product selection. It’s also when we walk through the prep plan with you, including acclimation temperature, HVAC setup and furniture arrangements. The estimate is free, and the written estimate sets the final price.
The Bottom Line
Preparation is the part of a flooring installation that belongs to you, and it’s the part that makes the biggest difference in Sunrise Manor. Get the HVAC running 48 to 72 hours before install, stage the material in the room, clear every floor including closets, plan heavy furniture separately, and arrange pets and children for install day plus 24 hours. If you’re weighing material options, carpet installation and tile both deserve a look, alongside the brands we carry: LifeProof, Mannington, Armstrong, Daltile. For a Sunrise Manor home, having one specialist for carpet, tile and hardwood refinishing means fewer coordination calls and one accountable point of contact from estimate to finished floor. The floor sets the tone for every room above it, and the prep sets the floor up to perform.
Ready to get a real plan for your install? Call (833) 695-5999 to schedule your free estimate with Sunrise Manor Flooring. We answer 24/7. Fast dispatch from 7am to 7pm, Sunday through Friday, and we’re closed Saturday.
Written by the team at Sunrise Manor Flooring.
See the difference
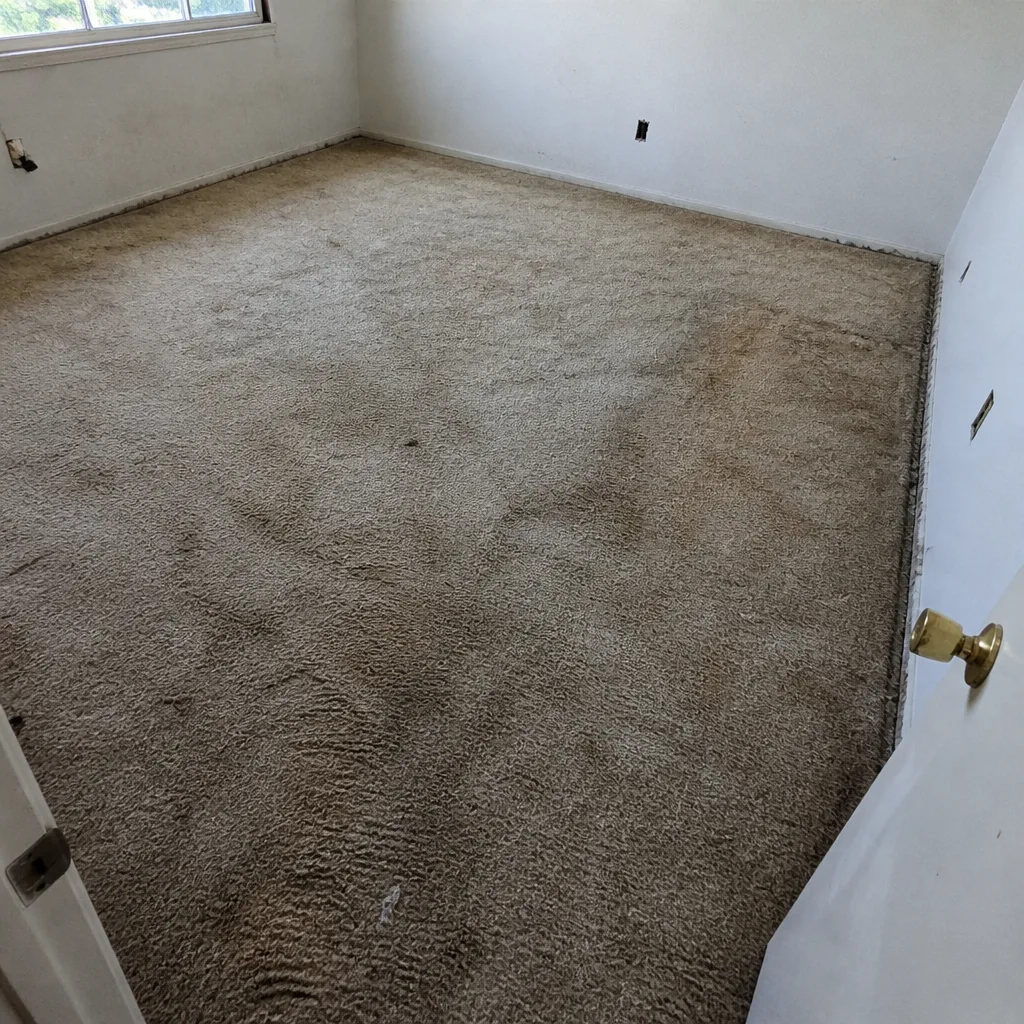 Before
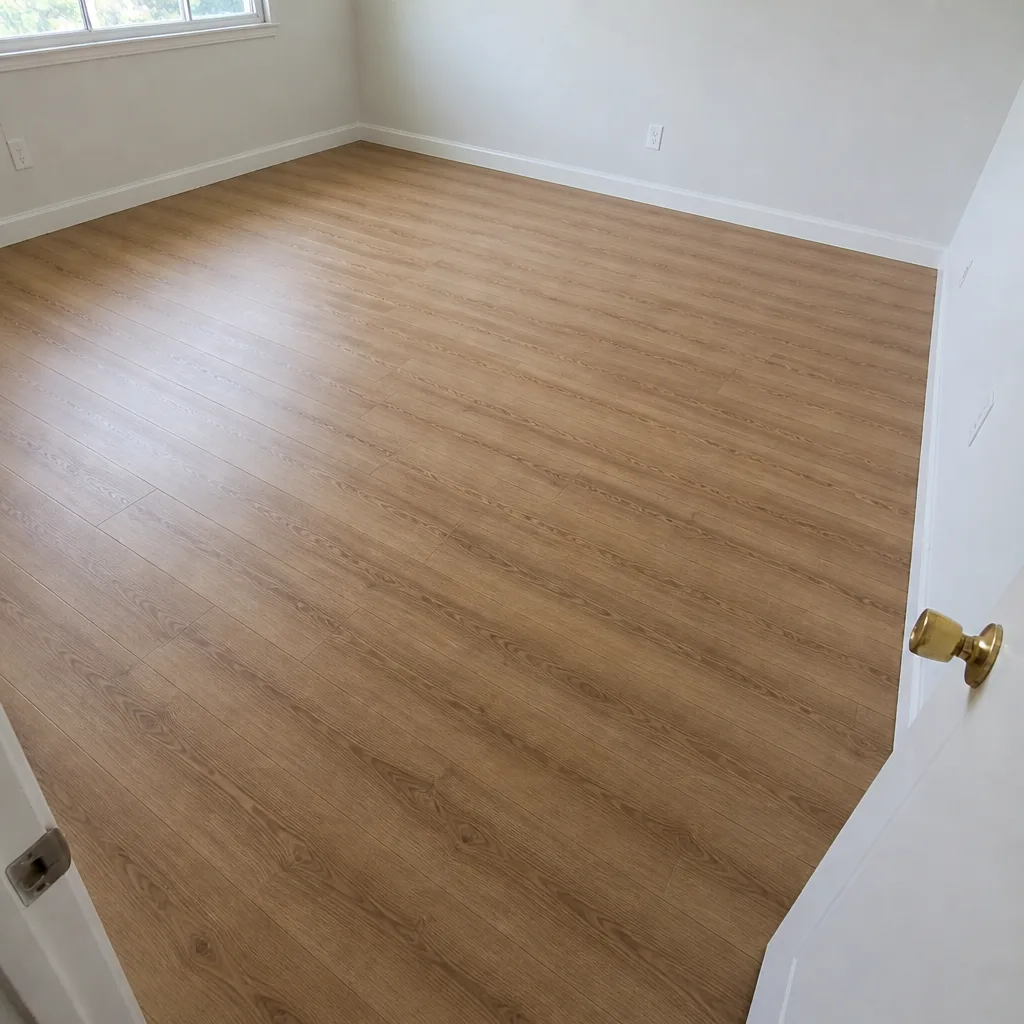 After
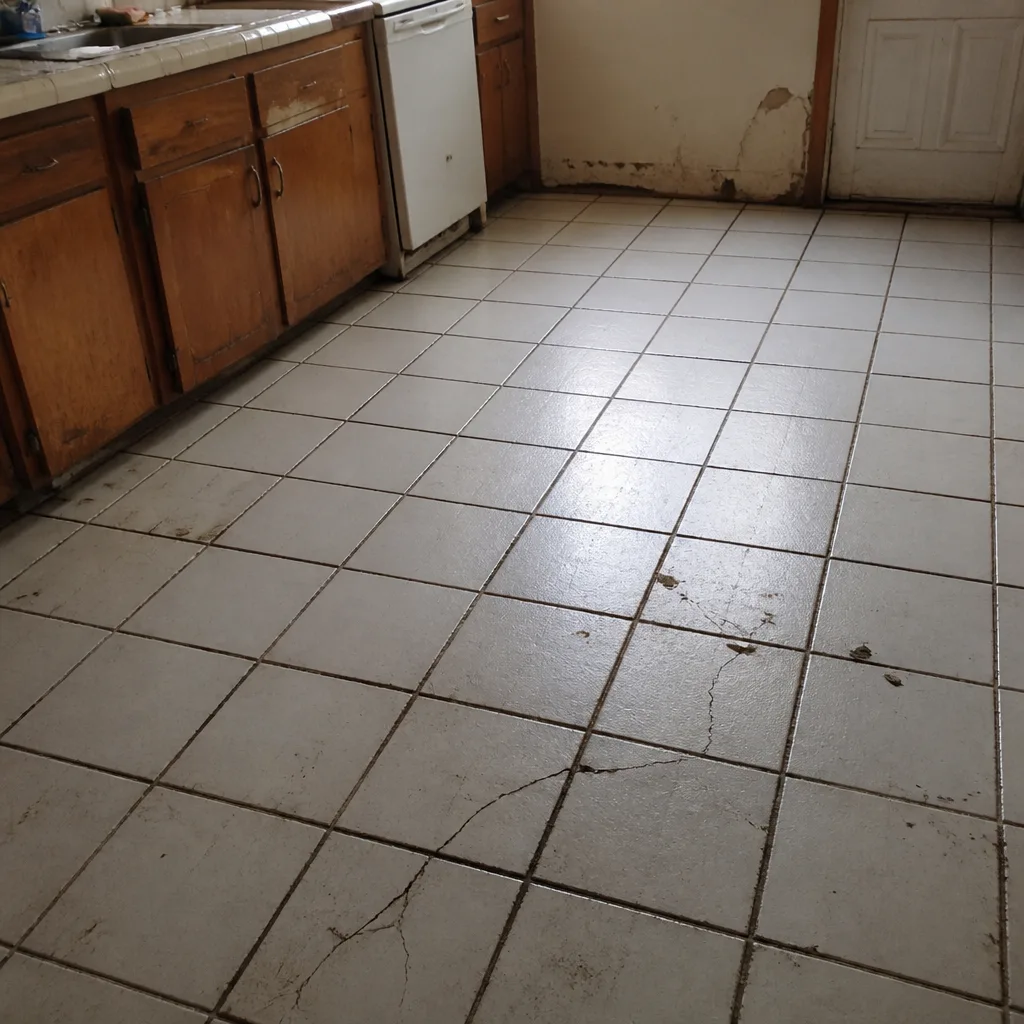 Before
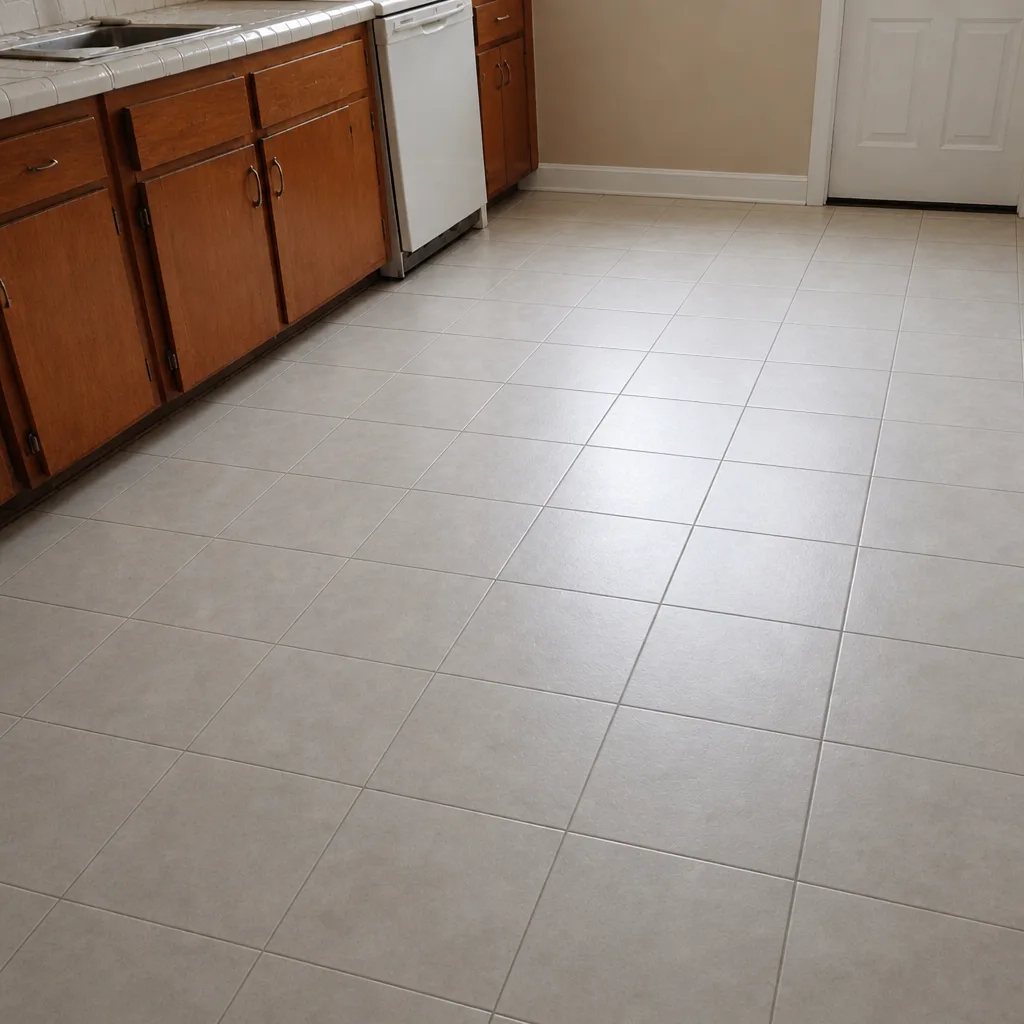 After
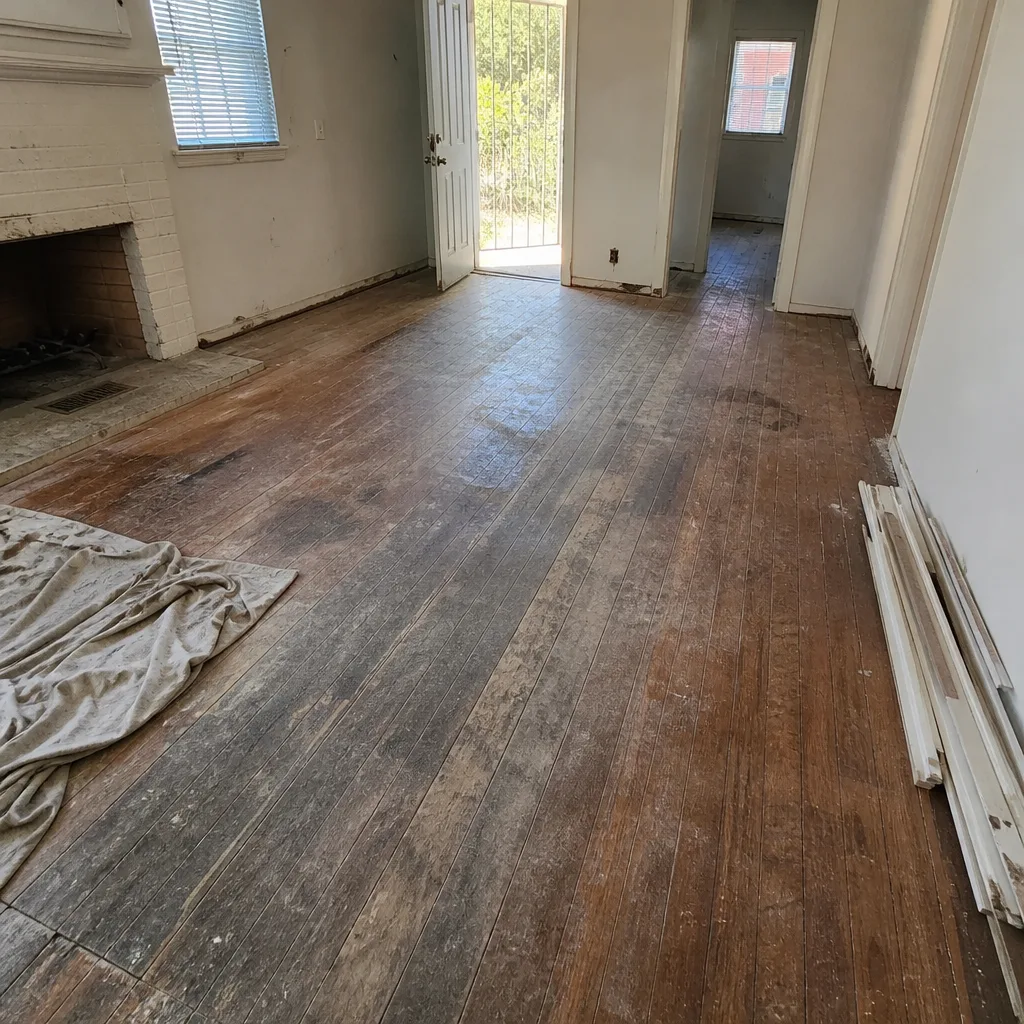 Before
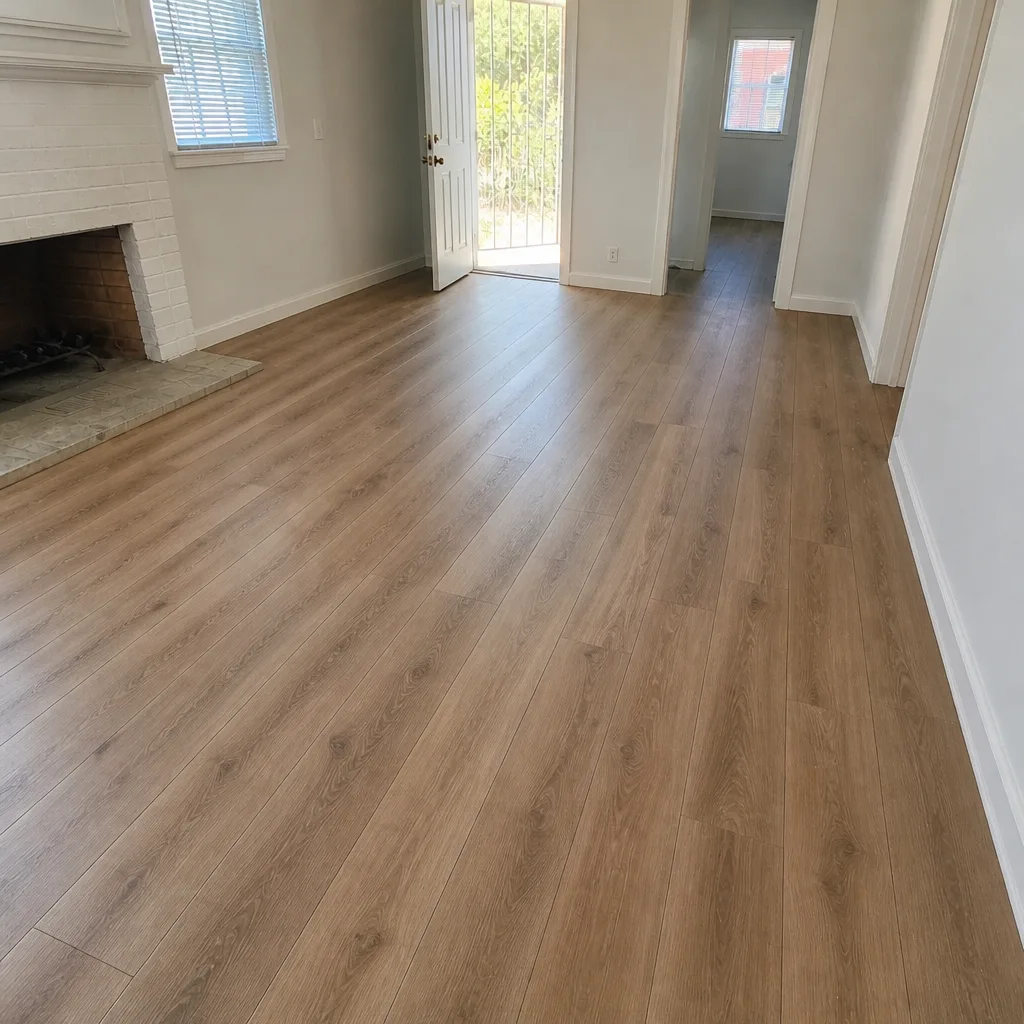 After